Wednesday, February 12, 2014

Valentine Crafts

So it's the day before Valentines and you haven't had your kids make anything for Mom or Dad. Have no fear these two crafts are simple quick and cheap. Both are made out of construction paper hearts. I would recommend tracing the shapes for the kids so it remains a heart craft not a random shape craft. The last item is not a craft just an easy idea for dad's to impress the old lady.

 To make a heart wreath from construction paper all you need is some simple household items. As you can see we used yellow and red to add some contrast. Ours was taken to work before the final picture was taken.

Items needed
  • glue
  • paper plate
  • construction paper
Directions
  1. Trace and cut out 10 hearts 
  2. Cut out center of the paper plate
  3. Glue hearts to the paper plates
  4. Cut out a name plate if you want to personalize for mom of dad 
  5. Decorate name plate and glue to wreath
 Heart Mobile


This particular craft was one of my wifes favorites. Now I'm not sure if that's a good thing or not but it was made for her so I'm going to consider it a win. 

Items Needed

  • Contruction Paper
  • Cardboard
  • Ribbon 
  1. Trace and cut out your hearts 
  2. Cut out a circle from cardboard then cut two pieces of construction paper cover the top and bottom.
  3. Glue the top and bottom covers to the cardboard
  4. Punch an even amount of holes around the outside of the cardboard circle 
  5.  Lace the ribbon through holes 2 a time so you will not have to tie the ribbon on top
  6. Punch holes in the hearts and tie onto ribbon. 
  7. Punch hole through the center of the mobile

Dad's Chocolate Strawberries
 
Chocolate covered strawberries are very popular around Valentines. They also happen to be damned expensive. This doesn't have to be the case gentlemen or ladies. Chocolate covered stawberries are one of the simplest things you can make. Almond bark is available at any grocery store in vanilla and chocolate so make your selection based on her tastes. Wash your berries then heat the almond bark according to labeled directions. Dip the berries in the melted bark and then decorate with the kids. These will be much less expensive and the effort of making them will mean much more than picking up the phone and ordering them. I promise these won't disappoint.

Wednesday, January 29, 2014

Little Drummer Boy or Girl

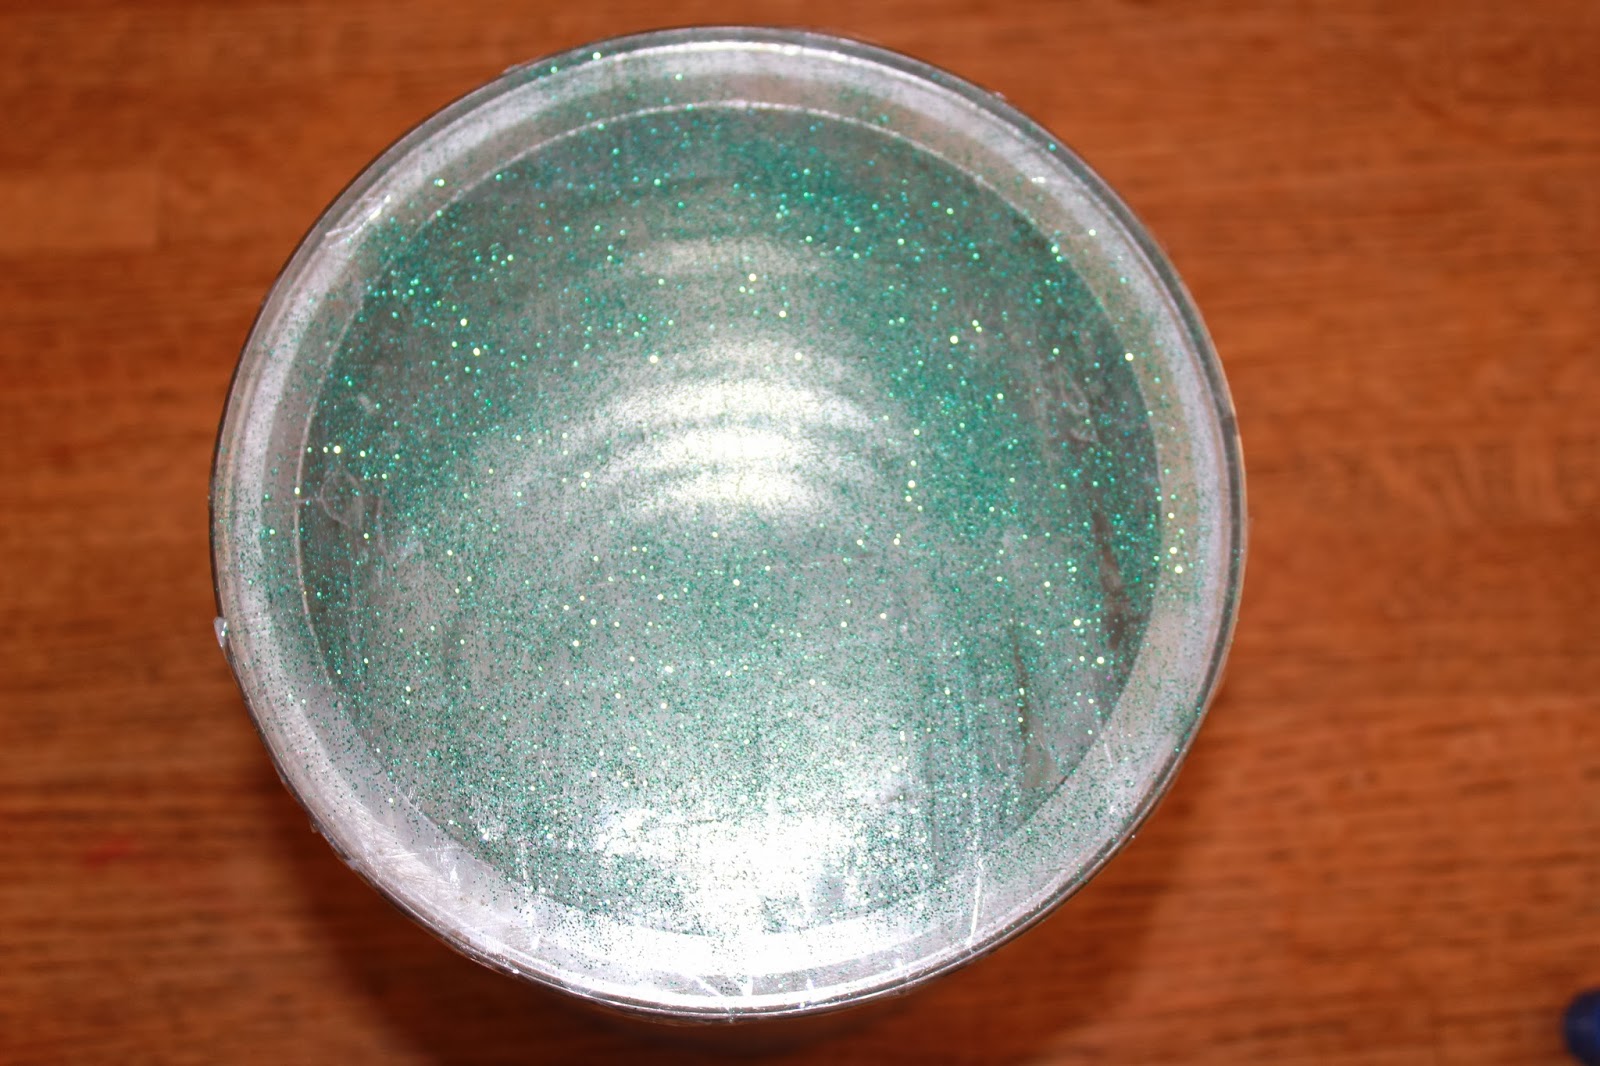
It's might seem utterly absurd for a parent let alone a stay at home parent to actually seek out a noise making toy. That's precisely what we did, the fun is in the making of the drum not necessarily the usage of it. Once again this craft was born from having too much of something and wanting to make use of it before it ended up in the garbage.  Just like our tin can jack-o-lanterns this will use old coffee cans. This was quite a fun little craft and I think it turned out really well


Items Needed
  •  Large Coffee Can
  • Construction Paper
  • Clear Packing Tape
  • Sissors
  • Glue
  • Decorations, glitter, paint, stickers, stamps, ribbon, crayons....

Directions


  • Clean the can and remove label .
  • Tape the top of the can with opposing layer to ensure complete coverage. Make sure the tape is tight and sealed were overlap occurs.
  • Apply glue to the top of the tape and the glitter .


  •  Allow to dry for several minutes the apply two more opposing layers of tape.
  •  If you would like to add a strap, cut to size the tape to the side of the can.

  • Cut construction paper to appropriate size then glue to the outside of the can. Tape ends if two pieces are needed.
  •  Decorate, we wrote her name in glue then covered in glitter. Stamps, stickers, whatever your child finds fun a will stick to construction paper.

Wednesday, January 15, 2014

Cronan Ranch Regional Trails Park

Tucked in between Hwy 49 and the South Fork of the American River lies a local hiking gem. Cronan Ranch is locate just south of the small town of Pilot Hill in the lower foothills. It is hardly a secret but during the week it can be a quite and peaceful place to spend your day. This is a multi-use trail system so you will have to share with mountain bikes and horses. Or better yet use it on your mountain bike or horse as well.

Wide open spaces, in spring it's all green

The park is more open space than park. Facilities are limited to pit toilets and seasonal porta-potties. Bring water since there is no potable water within miles of the park. Along the trails you will find picnic tables at some choice locations.Cronan Ranch connects to the South Fork American River Trail or SFART. With the connection to the SFART you have almost limitless mileage options for your run, hike or ride. I've done everything from 20+ mile mountain bike rides to 3 mile hikes with toddlers from this trailhead. SFART also connects this area to the Magnolia Ranch trailhead and trails to the south.

Every trail has a nice large sign
Spring time is a fantastic time to explore here. The hills are green , flowers are blooming and the river is flowing high. There are however a few drawbacks to the area. Being in the sierra foothills do not expect a flat hike. Most are fairly gradual while others will test even those of good fitness. Much of the area is not shaded which certainly is a drawback in the summer. Due to the high amount of equestrian usage there is also an abundance of manure. It's a major pet-peeve of mine but needless to say watch your step.

The girls exploring the movie set after lunch
Both the Cronan Ranch Trailhead as well as the Magnolia Ranch Trailheads have good maps of the surrounding trails. The area is very well marked with signs at every trail intersection making navigation very easy. This is a former ranch so the trails are former roads so are mostly graded and very wide  River access is available through several trail down to the water. It is a longer walk than other parks in area so it's not your closest option to get the the American. Long Valley Trail is my daughters favorite trail in the park. It ends at an old movie set and a shady oak tree perfect for picnic. For you next hiking adventure make a day of it and explore Cronan Ranch.

Google Maps Directions from Sacramento


 Via I-80
Via Hwy 50

Additional Information avalible from

http://www.blm.gov/ca/st/en/fo/folsom/cronan.html

http://www.coloma.com/recreation/riverside-parks/cronan-ranch-trails-park/


Tuesday, January 7, 2014

Sweet Cornbread Recipe and Crowded Toy Box relief

 Sweet Cornbread

Winter means chili and soup at our house. What goes with chili better than cornbread? Nothing. This recipe is not only very easy to make but it's really good. I don't fault my parent's too much but for the longest time i thought cornbread was supposed to be dry and rather flavorless. Our go too was like many, the box of Jiffy was cornbread for us. This recipe is not Jiffy it's moist and very flavorful.

You can make this in a standard 9 inch cake pan, a rectangular carousal dish or muffins. Since our little one still drinks whole milk that is all I use for baking.  We have used skim for this recipe in the past and the bread turned out just fine. I also usually use corn oil instead of vegetable oil as I believe it helps the flavor. Like anyone else who blogs about a recipe this is not my original creation it comes from allrecipes.com and the original can be found here corn bread recipe.
You'll never buy Jiffy again

Ingredients

1 Cup All-purpose flour                         3 1/2 Teaspoons  Baking Powder
1 Cup Yellow Cornmeal                        1 Egg
2/3 Cup Sugar                                        1 Cup Milk
1 Teaspoon Salt                                      1/3 cup  Vegetable Oil

Directions
  1. Preheat oven to 400 deg. and grease pan
  2. Mix flour, cornmeal, sugar, salt and baking powder.
  3. Mix in egg, milk and oil 
  4. Mix or whisk until no lumps present then our into pan or muffin tins.
  5. Bake for 20-25min or until a toothpick can be inserted into the middle and come out clean.


 Toy Box relief and Rotation

Now that Christmas has passed and the house is getting back to normal you may have noticed that your kids have a ton of toys. This issue is compounded at our house since both or our children have birthdays right after Christmas. Last year we found ourselves overwhelmed with crap. Their aunts, uncles, grandparents, great grandparents, ext. are exceptionally giving so it is certainly on the good problems list but it did create some issues. The biggest issue we noticed was a lot of toys were not getting played with or ended up forgotten about in the dark depths of the toy box.  The mess was out of hand and clean up time required heavy equipment and qualified as an EPA Superfund Site. Instead of tossing or donating those old toys rotating them was our solution. It's worked great for a year, the kids love it and the toys get used more. A couple of boxes or plastic bins and a little space is all you need to clear some room and get those toys played with.

We have learned a few lessons over the past year that might make your rotation a little smoother and easier than ours. 

  • Split the toys into either 2 or 3 equal parts.
  • Do it while they are sleeping. Nap time is your friend, they had forgotten about that toy until you reminded them of it.
  • Leave at least one favorite out at times. 
  • Don't give them the option of when it happens or how much stuff is rotated.
  • If the toy storage is in the garage, get some plastic totes instead of card board. Mice love plastic and make a mess anywhere they call home. 
  • Don't have a set schedule of when you do the rotation. Do it based on need or for stay at home parents for sanity.We tend to swap them more frequently in winter due to the time they spend inside playing  being much higher that time of year.
  • If it's world ending to do swap out all the toys, try doing a box or two every few weeks.
Our play area is still a disaster some days but nowhere near as bad as it would be with out switching out toys. Find what works for your family but I can promise it's worth the effort. The kids now love when we rotate because it's like having new toys.


Wednesday, December 11, 2013

Make Your Own Wreath


Tis the Season for Wreaths, so why buy one pre-made when you can make one that will be uniquely yours. With just a few items from the store or gun range you can make your front door stand out from the neighbors. The first wreath was made last year using a plain wreath and spent shot shells. The second was made with a length of garland purchase at Wally World. I feel kinda silly even posting about this because it's so simple and easy. The fact that I hadn't done either of these til the last 2 years says to me that while easy it might not come as an idea to some including myself. So pardon my lacking of detailed instructions because there really isn't much to it.


Shotgun Shell Wreath
Add caption

  
Items Needed
  •  Spent shot shells of varying color. Winchester typically uses red shell, Remington typically green. Different gauge shells also adds to the look
  •  Hot Glue Gun and Glue
  • One bare wreath

Directions

  1. Go Shooting with some buddies and save all your shells.
  2. Glue Shells to wreath. That's it, no need to over think this folks just shoot then glue. The order however is pretty important. I wouldn't recommend glue then shoot.

Traditional Wreath

We made the wreath below with a $2.00 section of garland I purchased at Wally World. My wife and daughter made some felt ornaments for it as well. The wreath was made by making a circle the size we wanted the wrapping the remaining section of garland around the circle. Add your own decorations like mini candy canes or ornaments


Monday, December 2, 2013

Hidden History at Folsom Lake


For those of use that were not around before 1955 what lies beneath the waters of Folsom Lake is mystery. The Folsom Dam was finished in 1955 and with it's completion miles of river were lost as were the historical sites that now are part of Folsom Lake. The lake is currently at only 25% of capacity and that has exposed many areas that are typically well under the surface.  Some of the sites include the former town of Mormon Island, the original Salmon Falls Bridge and the dam site of a dam dating to the 1860's.

Old Salmon Falls Bridge
We set out for the Old Salmon Falls bridge after parking off of Salmon Falls Road at Falcon Crest. I'm cheap and the 10 minutes of additional walking is well worth avoiding a $10 day use fee. After parking the car walk into the day use area and the bridge will become visible. Don't try to find a trail, it's usually underwater so you can probably figure out why there isn't one. We pretended to be walking under water, and the girls loved the wide open space to explore.  On our way we passed old foundations and crossed a creek running towards the river. We really just scratched the surface of what is out there to find a see.
Foundation at Salmon Falls 1918

Once we reached the bridge the girls explored some more and enjoyed the nice set that an old abutment made. Having never seen this section of river before it became a lake it was very neat. It's unfortunate that the lake is this low but it provided a very cool place to walk around and explore. Unfortunately it seems that these sites are exposed and accessible more than they used to be. While it may not be good for boating it's great for hiking. I hope to make it back for some more exploring before the lake covers them once again you should too.
Walking across the bridge


Monday, November 25, 2013

Garlic Cheese Biscuits

With Thanksgiving just a few days away I could post a cute craft for the table but instead I present to you Garlic Cheese Biscuits. This recipe is one I made by altering a standard baking powder recipe. They will turn out to be very similar to the addictive ones severed at a certain seafood chain that sounds like Led Robster. So instead of bringing store bought bread or heat and serve dinner rolls bring these and I promise they will impress. In addition to being extremely tasty they are very simple to make and require no special ingredients that one can never find at a grocery store. As with any recipe involving seasonings feel free to alter to your liking.

McKenna Family Garlic Cheese Biscuits
These are always a hit
  
Biscuit Ingredients (makes 12)
  • 2 cups all-purpose flour
  • 2 teaspoons baking powder
  • 4  tablespoons butter (cold)
  • 1/2 teaspoon salt
  • 1 cup Colby Jack cheese (any mild orange cheese will work)
  • 1 tablespoon garlic powder
  • 3/4 cup milk  (whole works best if you have it)
Butter Topping Ingredients
  • 4 tablespoons butter
  • 1/2 tablespoon parsley
  • 1/2 tablespoon garlic powder
  • 1 tablespoon kosher salt for sprinkling (sea salt would also work)
No need to a rolling pin or biscuit cutter
Directions 
  • Combine flour, salt, baking powder, garlic powder and mix thoroughly.
  • Cut butter into small pieces and then work into flour/season mix by hand.
  • Add cheese then mix thoroughly.
  • Pour in milk the work dough by hand until a soft shaggy dough if formed.
  • Pull apart into 12 pieces and place on a greased or non-stick pan and bake at 400 deg. for 12-14 min.
  • Make your topping while the biscuits bake as follows; melt 4 tablespoons butter then add the garlic and parsley and mix.
  • Once biscuits are baked use a basting brush to add the melted butter to the tops of the biscuits. Just a brush or two on each will do.
  • Sprinkle with a small amount of kosher salt. As always with kosher salt a little goes a long way.
  • Serve warm and enjoy!

Homemade Stew and Garlic Cheese Biscuits, Good Eats!